
I have lots and lots of stuff for lots and lots of things. There’s a bag for crocheting and knitting and book making and magazines….I’m sure your life is very similar. Well, maybe not the same categories but still, lots of things. There are school bags and scripture bags, lunch sacks, overnight bags, weekend at grandma’s bags, grocery sacks….the list goes on and on!
Sure, it’s easy to go out and buy one of those personality-less bags that they sell everywhere but how much better could the gift be if you added personal touches?! Paint, material, buttons, beads, charms, patches, stickers, decals….the list could go on forever!
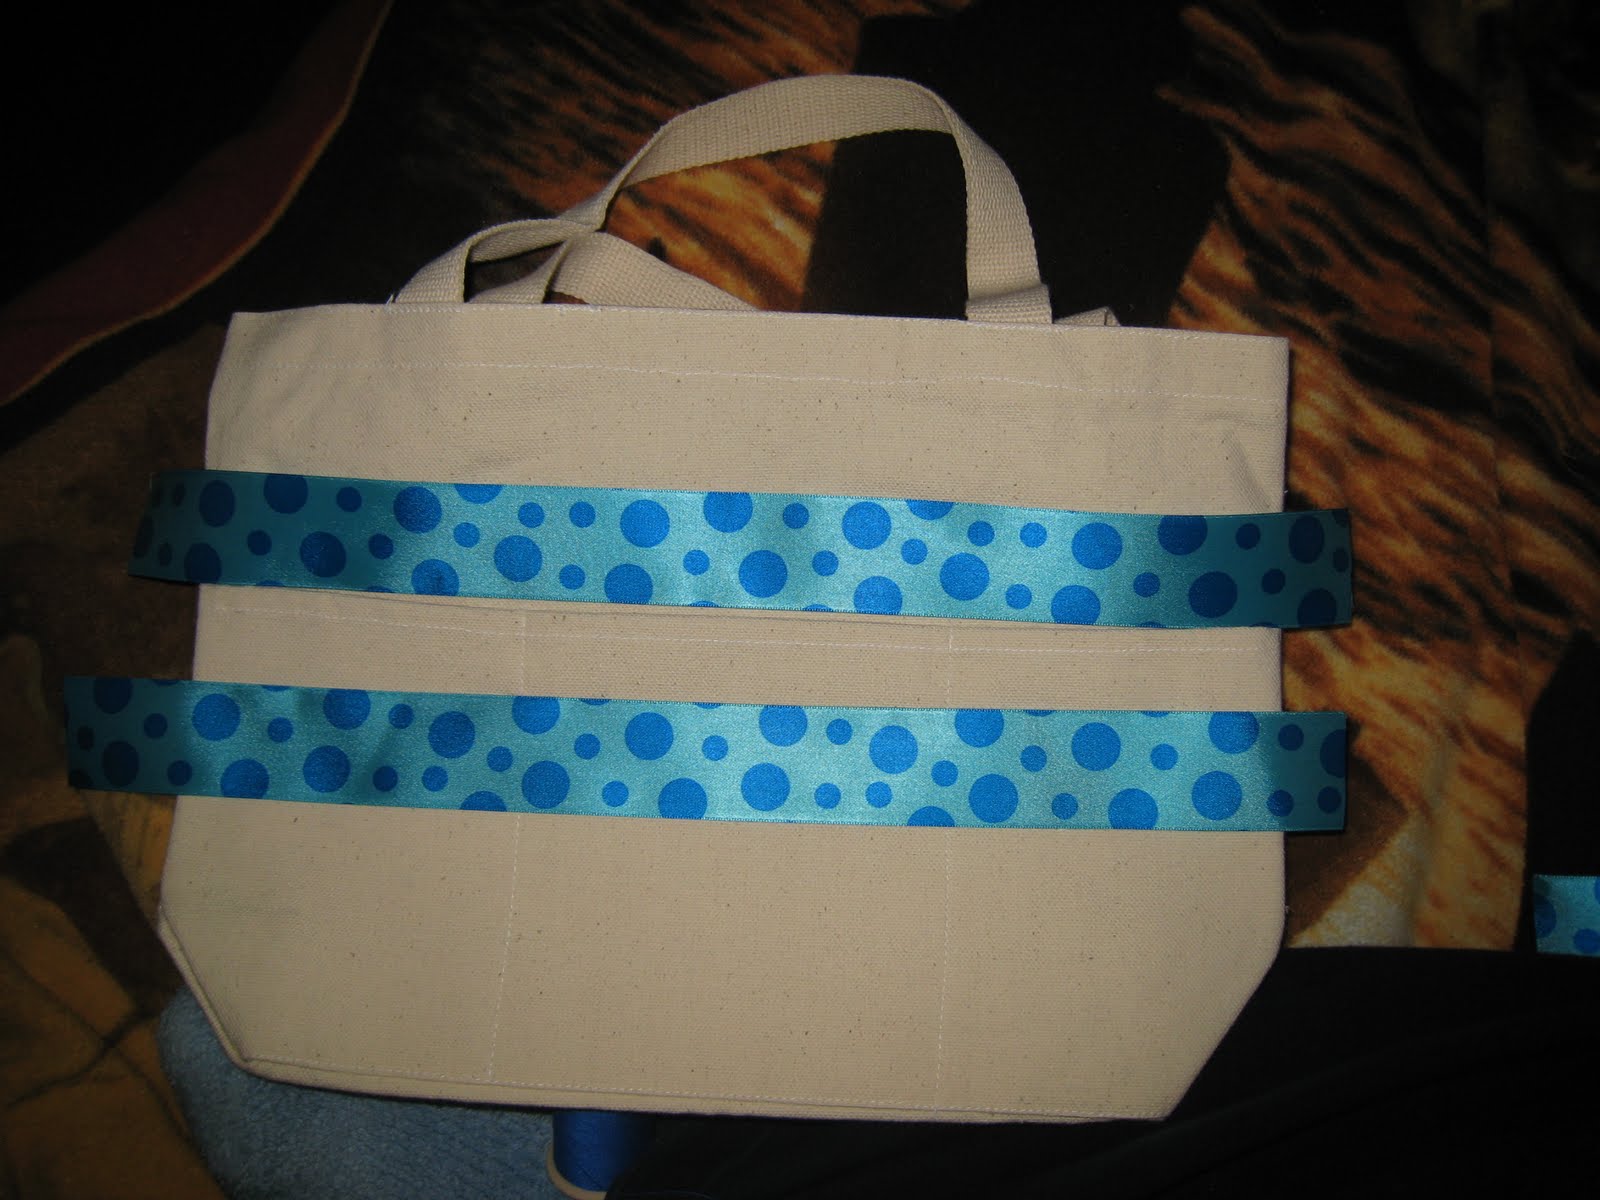
The canvas bag I use for this project I got at Hobby Lobby (have you noticed that I love Hobby Lobby?). It cost 3 dollar but I got it half off so it was only $1.50! This is also a project that requires a bit of sewing know-how. Now, even though I say that, I’m sure you could get away with using glue instead but you have to be really careful because using too much glue will cause it to seep through the ribbon. They do make canvas ribbon, though--so see?--you can work your way around any dilemma!

Canvas Tote:
Materials and Supplies:
~Canvas bag
~Wide Ribbon (try to get the width of the bag’s handle, probably 1 inch)
~Fabric
~Needle
~Thread (or hot glue)
~Scissors
Directions:
**If you want to glue everything on, any time you see “tack” or “sew” just replace it with “glue”
1. Measure off and cut two lengths of ribbon that are about 2 inches longer that the handles.
2. Fold up the raw edge and tack it into place.

3. Sew the edge of the ribbon to the edge of the handle. My ribbon was 1.5” so I had to fold under .25” as I went. Don’t worry! It’s not hard. Just keep it straight or don’t be a dummy like me and get 1 inch ribbon!
4. When you get to the other end, tuck that raw edge under and sew it down then continue up the other side of ribbon.
5. Do both handles.

6. The bag I got is nice because it has pockets on the front so I used more ribbon as an embellishment around the middle. Even if your bag doesn’t have pockets, add the ribbon—it’ll be fashionable, like a belt! When you cut this ribbon, give yourself 3 inches extra. You'll be surprised how short it gets at the end! Do the same as with the handles--tack it in place then sew it onto the bag.
If you don't have a guide like the pockets, draw a light pencil line around the bag so the ribbon will stay straight.

7. Now for little touches that will make it extra super special. I really love hot air balloons and had these two pins. With a few pieces of white material, it’s like they’re floating in the clouds!
8. If you’re extra super crafty and know how to use a sewing machine, I also like to add a lining with a pocket. Since this is for basic crafting, I won’t go into that here but message me if you want details!
Extra idea?
Like I suggested yesterday, it’s a tote bag so you can fill it with extra items that you know they’ll need. Journal, pens, gun, chapstick, tissues, a book, puzzle books, crayons—whatever they may need!
Are you going to a holiday party and taking candy or a small gift already? Place it inside a tote!
No comments:
Post a Comment